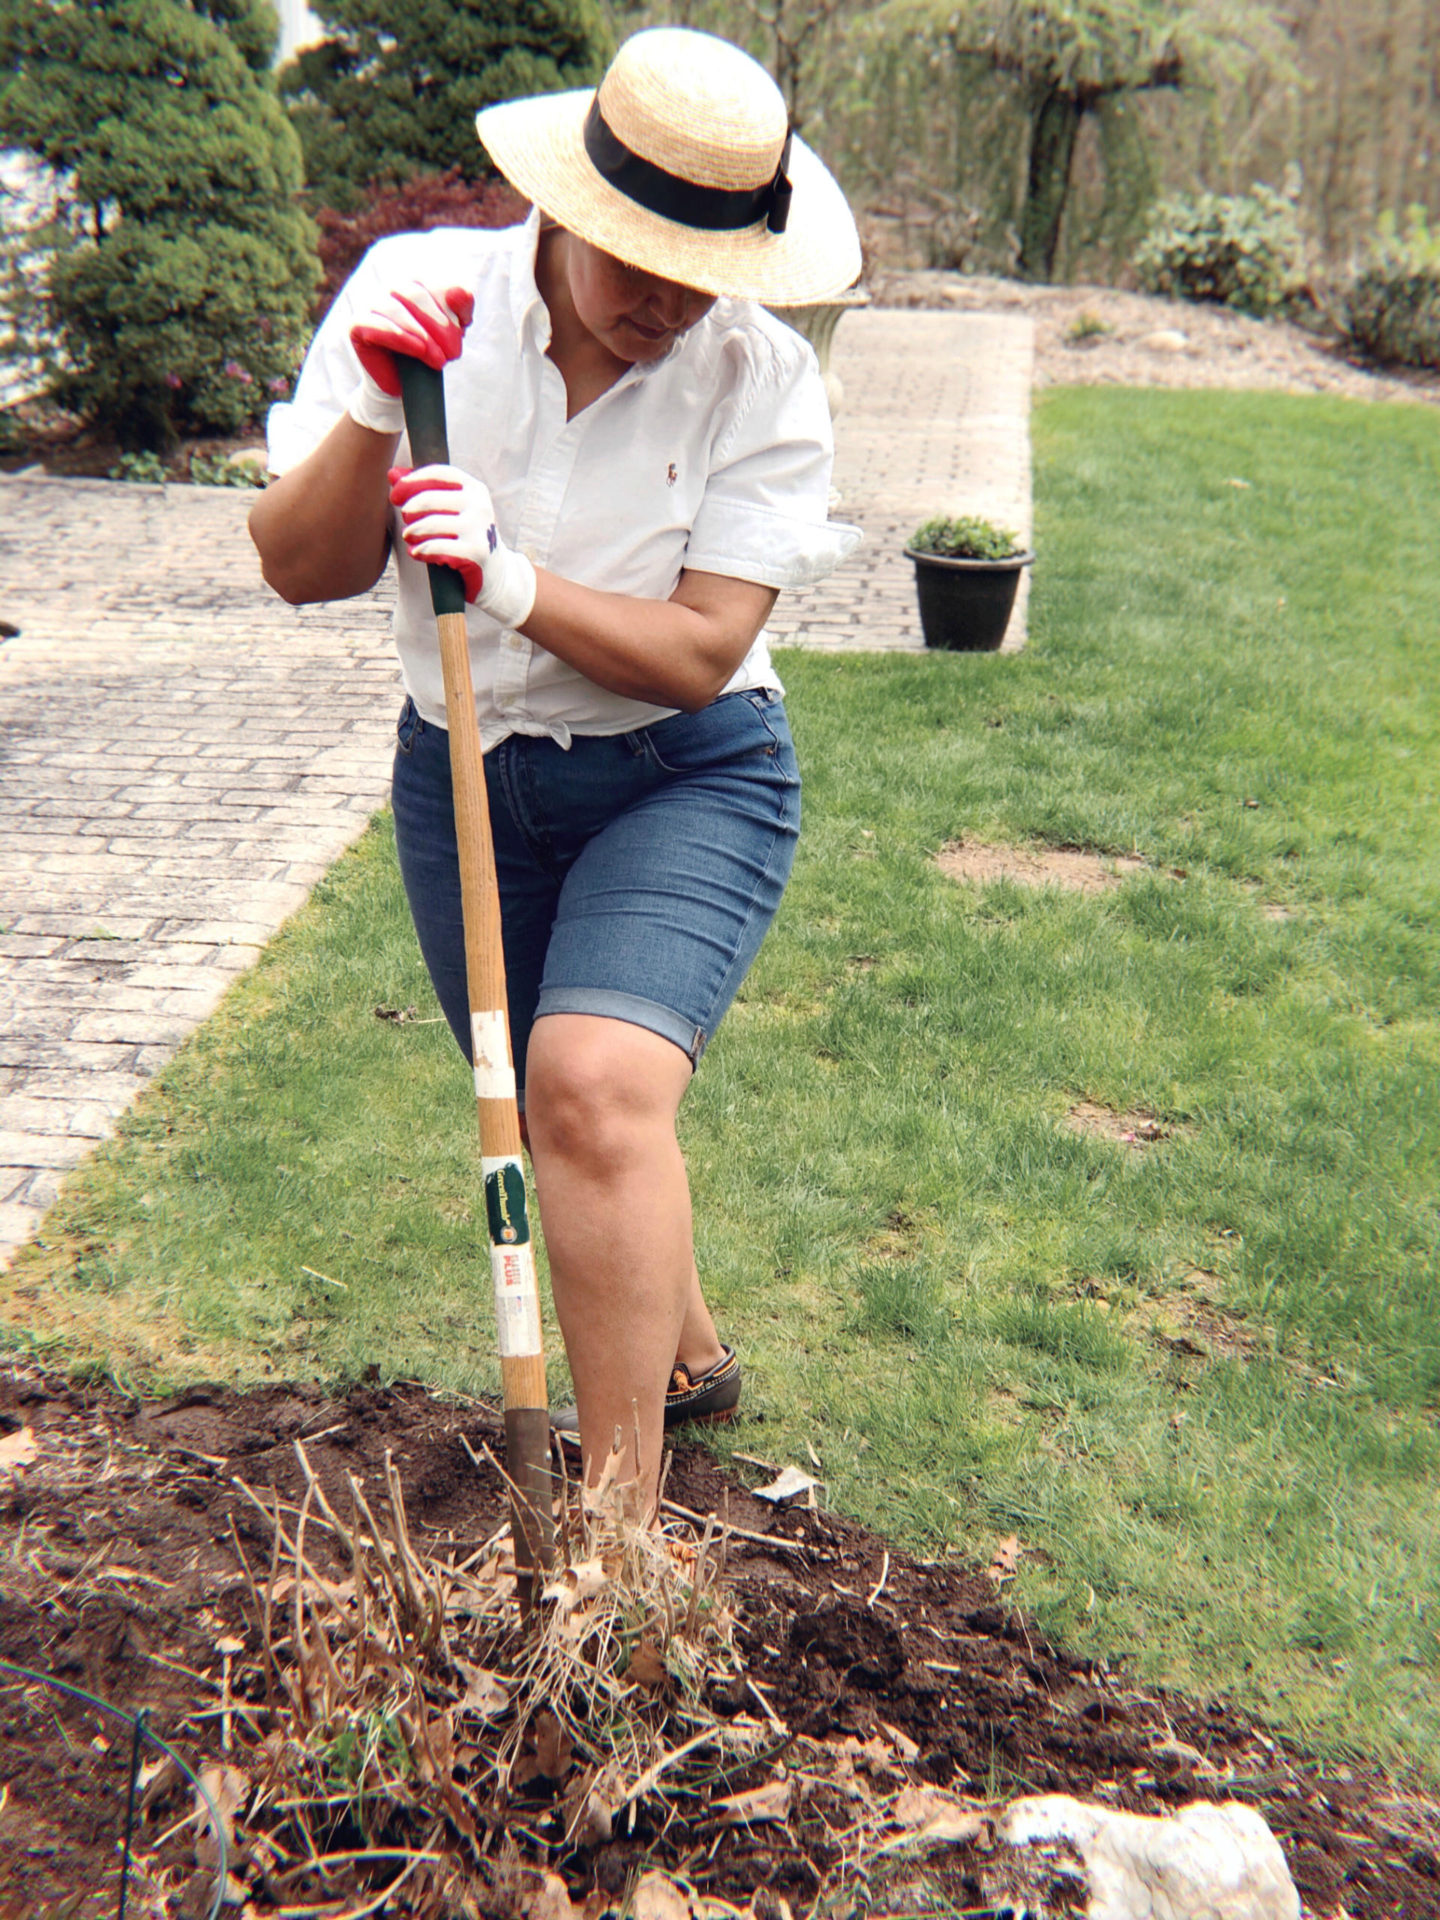
In a recent gardening post I mentioned what my plans are for my garden. The number one thing I have to do is dig out several old green bushes that I no longer want and really have no use for them. They’re old and are in bad shape. I want to add color to that area of my walkway and hydrangeas will do just that.
The new hydrangea plants have arrived and I couldn’t be more excited. I’m digging out the three small old plants and replacing with the two-gallon plants. I left the other two giant ones for my husband to dig out and replace with five-gallon plants since it’s a much larger area that can hold bigger bushes. Specialists have varied opinions on the ‘ideal’ time to plant hydrangeas, but most agree that spring or fall is fine. However, planting in the fall does give the plant a little more time to establish a strong root system.

What size plant to purchase
The best hydrangea size to purchase depends on the area you’re thinking of planting them in. A one to two-gallon shrub is almost always the ideal size. The plant will be heartier and already has a nice root system strong enough to establish itself in your landscape. If you’e looking for immediate impact, go for a three to five-gallon plant. And of course you can always try seedlings but that’s a whole other process I personally rather not undertake.

Finding the right spot to plant
The ideal location for planting your hydrangea should be where it will get enough morning sun and afternoon shade. If exposed to too much sun the leaves will burn. This plant also likes well-drained soil. The perfect spot should also have enough room for the hydrangea to spread as it grows. Some hydrangeas bloom up to six-feet-wide, so be sure to check the plant’s tag to see what its mature size will eventually be.
Digging the hole
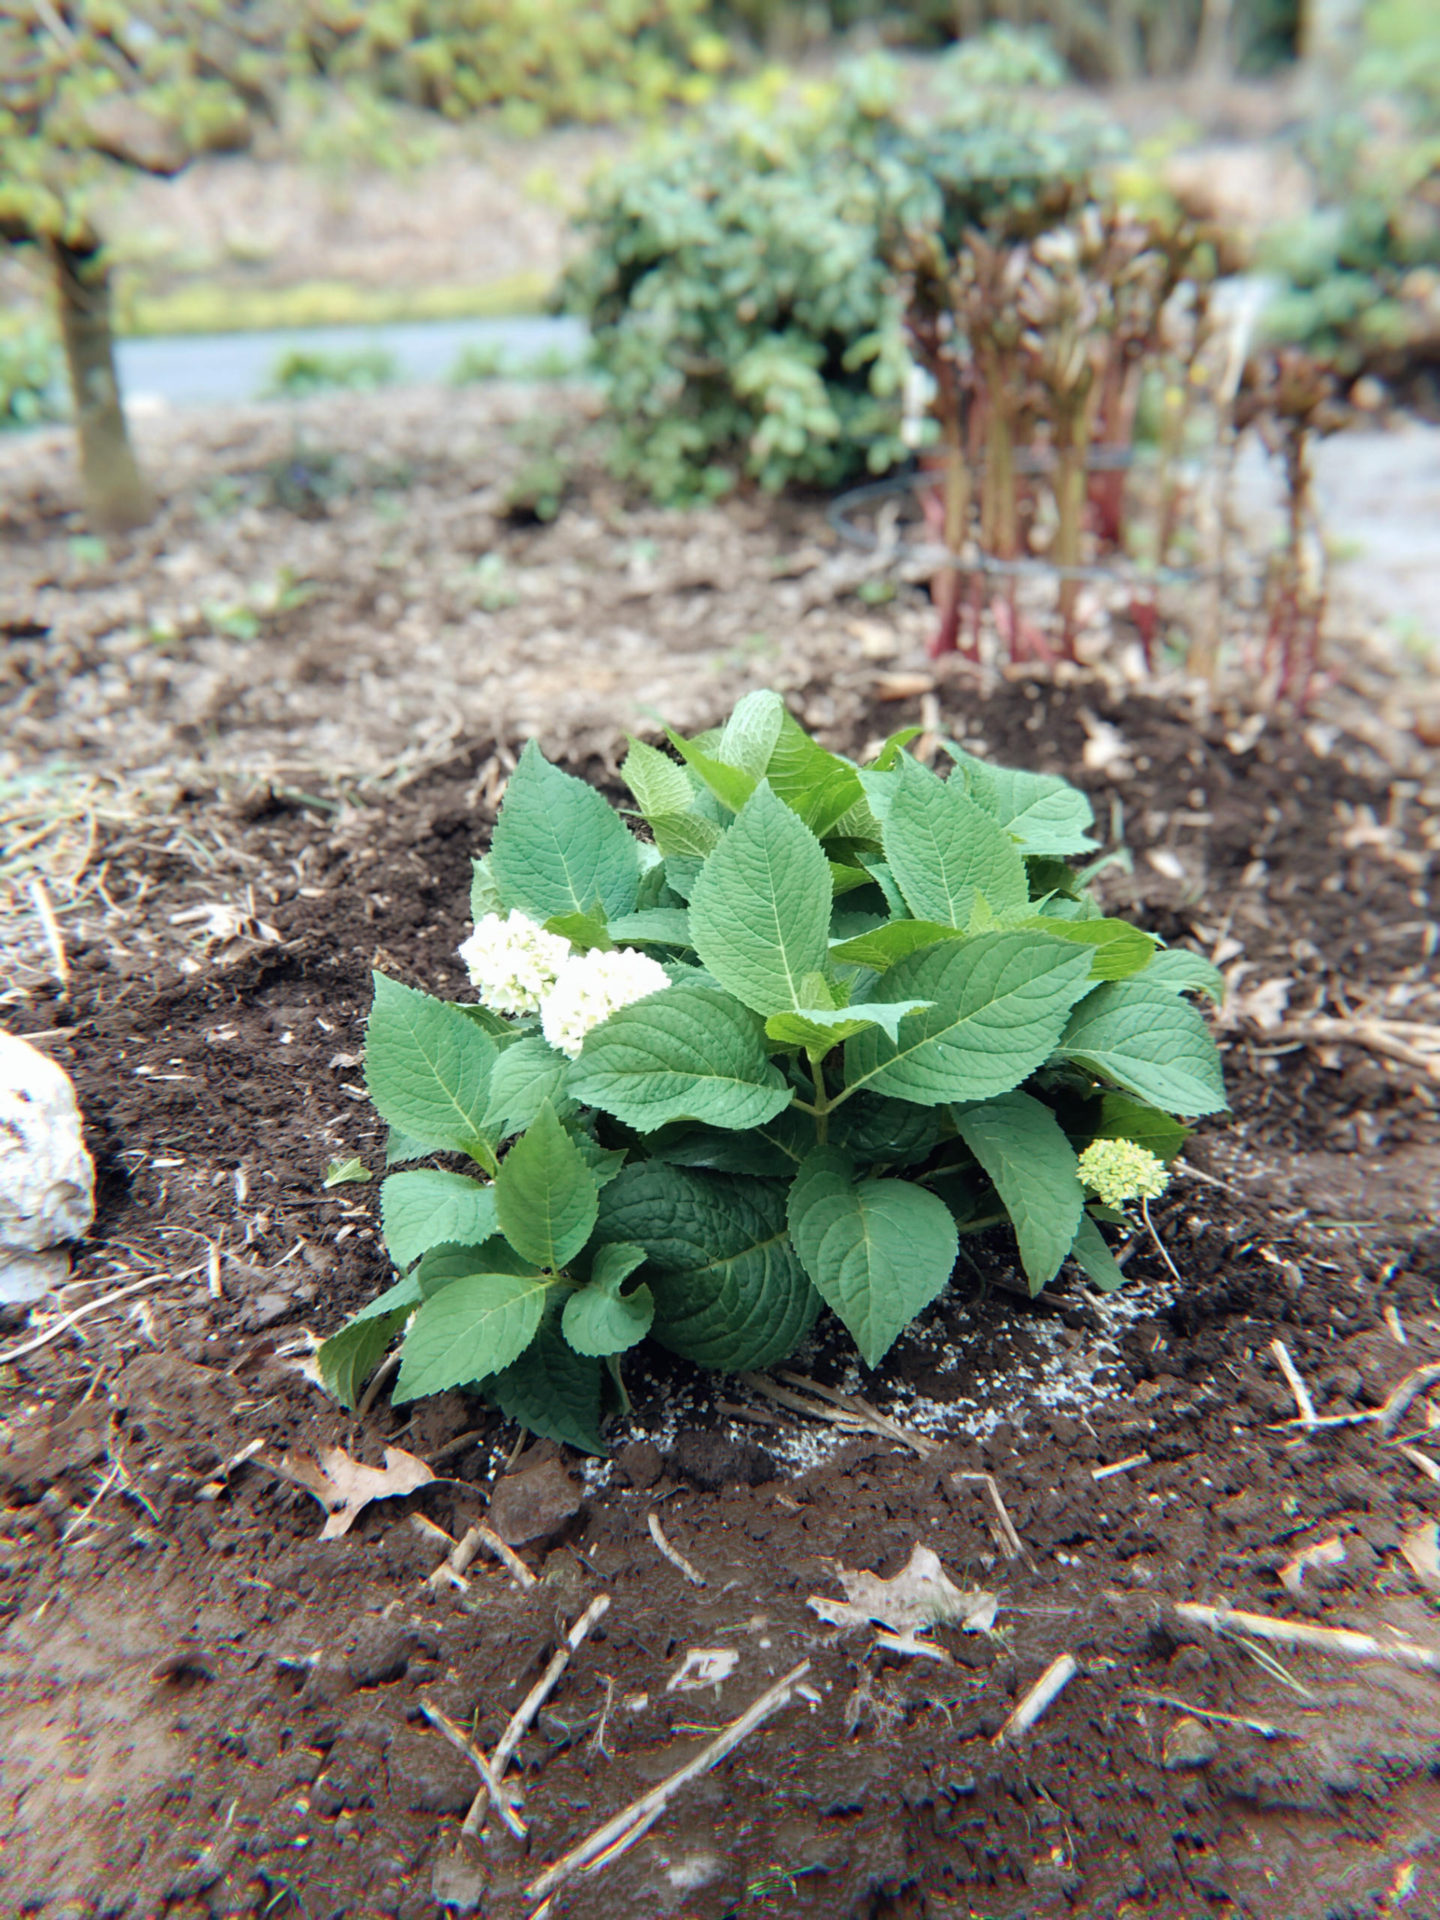
When planting your hydrangea, dig the hole big enough to fit your new plant making sure not to plant too high or too low. If planted too high, the top of the root ball can dry out. If planted too low, the stems can rot. Once put in place, fill it back in with added nutrients and pack it in tightly around the base of the plant.

To fertilize or not to fertilize
Most hydrangeas that come from a garden center will already have fertilizer in the potting mix, but it’s perfectly fine to add a slow-release fertilizer for an extra kick of energy. ‘Bloom boosting’ fertilizers are a great option but beware to not over fertilize as this can actually slow the bloom production.
Depending on your soil’s PH levels you may need a little extra help for the hydrangeas. The soil in my yard has a high PH, which means it’s alkaline, or sweet, and this makes the hydrangeas bloom pink. In order to encourage the hydrangeas to bloom in blue, my preferred color, I have to lower the PH level which makes the soil more acidic, or sour. I can accomplish this by adding a little Soil Acidifier around the plant once it’s planted.
You can easily test your soil’s PH level with Soil Testing Strips or by using a Soil Test Meter. This way you’ll know what color blooms your hydrangeas will produce!
GARDENING TOOLS & ACCESSORIES

Water, water, water
Your freshly-planted hydrangea will need a little more TLC than your other established plants. The first time you water it, allow it to fill and drain—then water it once again. Depending on your rainfall and summer temperatures, you could be watering your plant every day or two, or it could be that you only have to water it once a week. Like house plants, just check the soil, it will let you know what it needs.