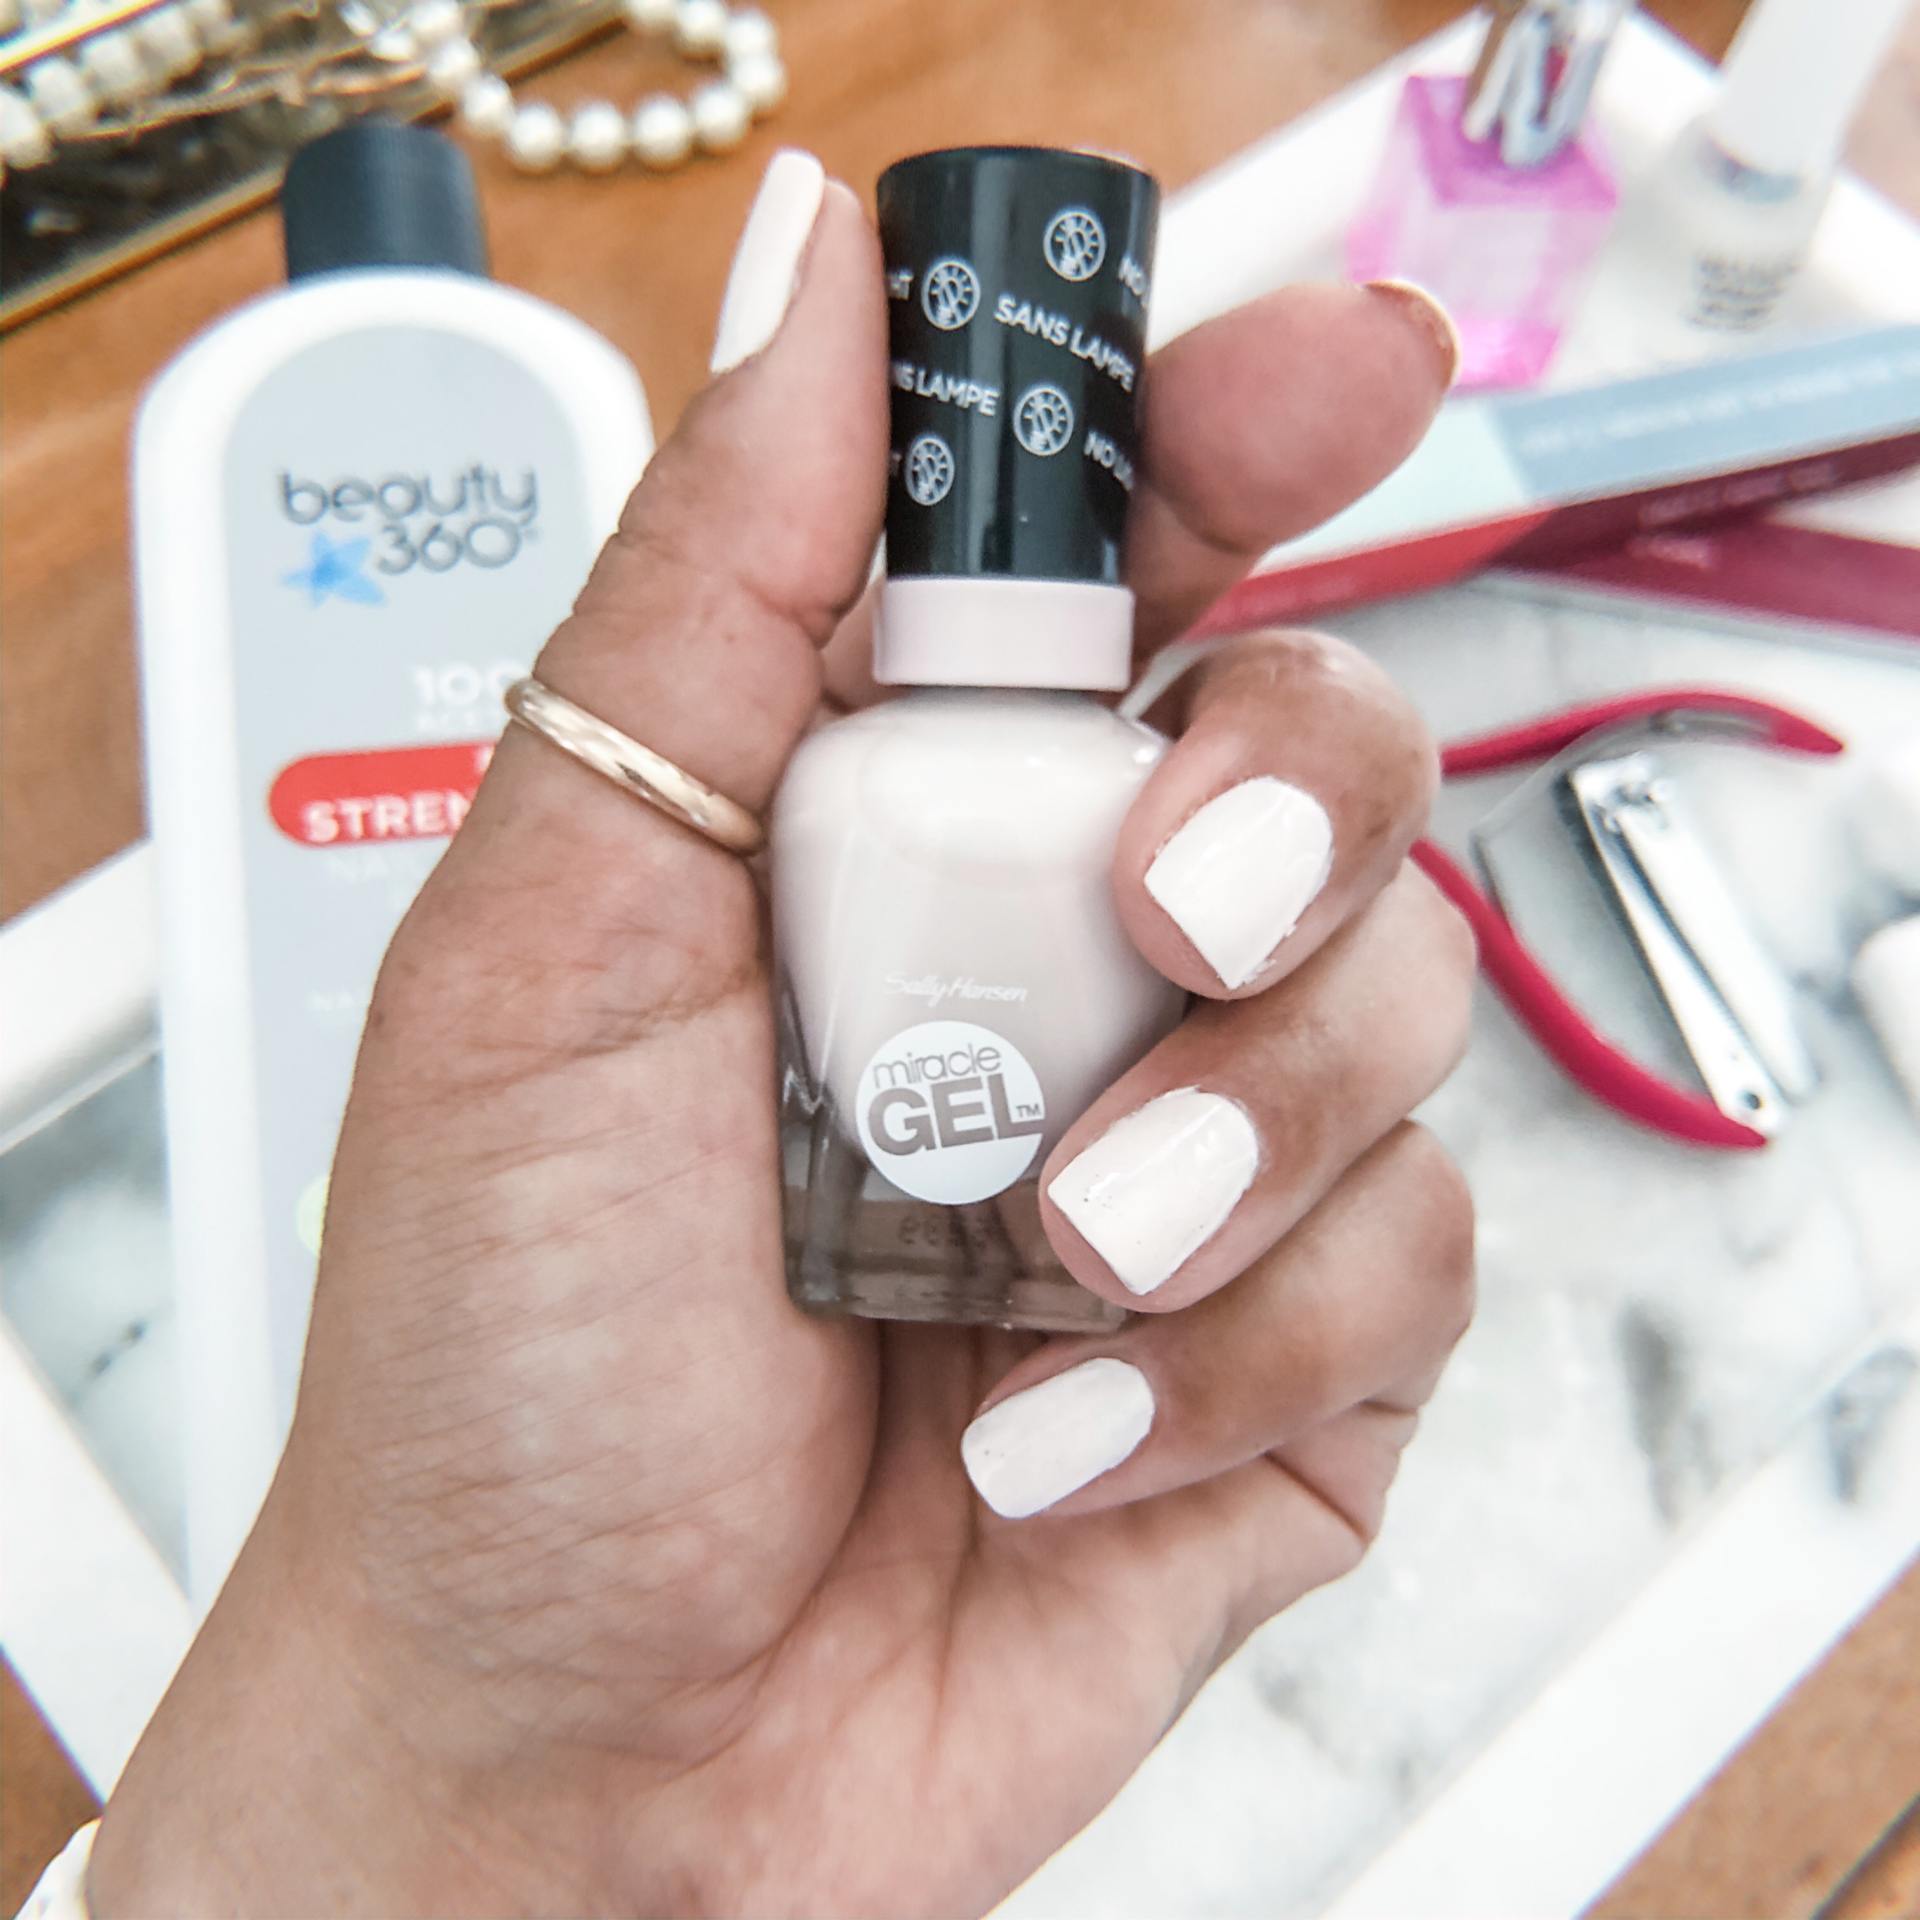
I finally gave myself an at-home manicure treatment. I had been struggling for weeks trying to figure out what to do with my powder dip manicured nails that had grown out of control. A girl’s nails says a lot about her and I was beyond frustrated at how terrible mine were looking. After chatting with my girlfriend (who happens to be a major manicure enthusiast) she convinced me to just remove the gels and polish my bare nails for a little while. I have to admit the end result is short of blah…
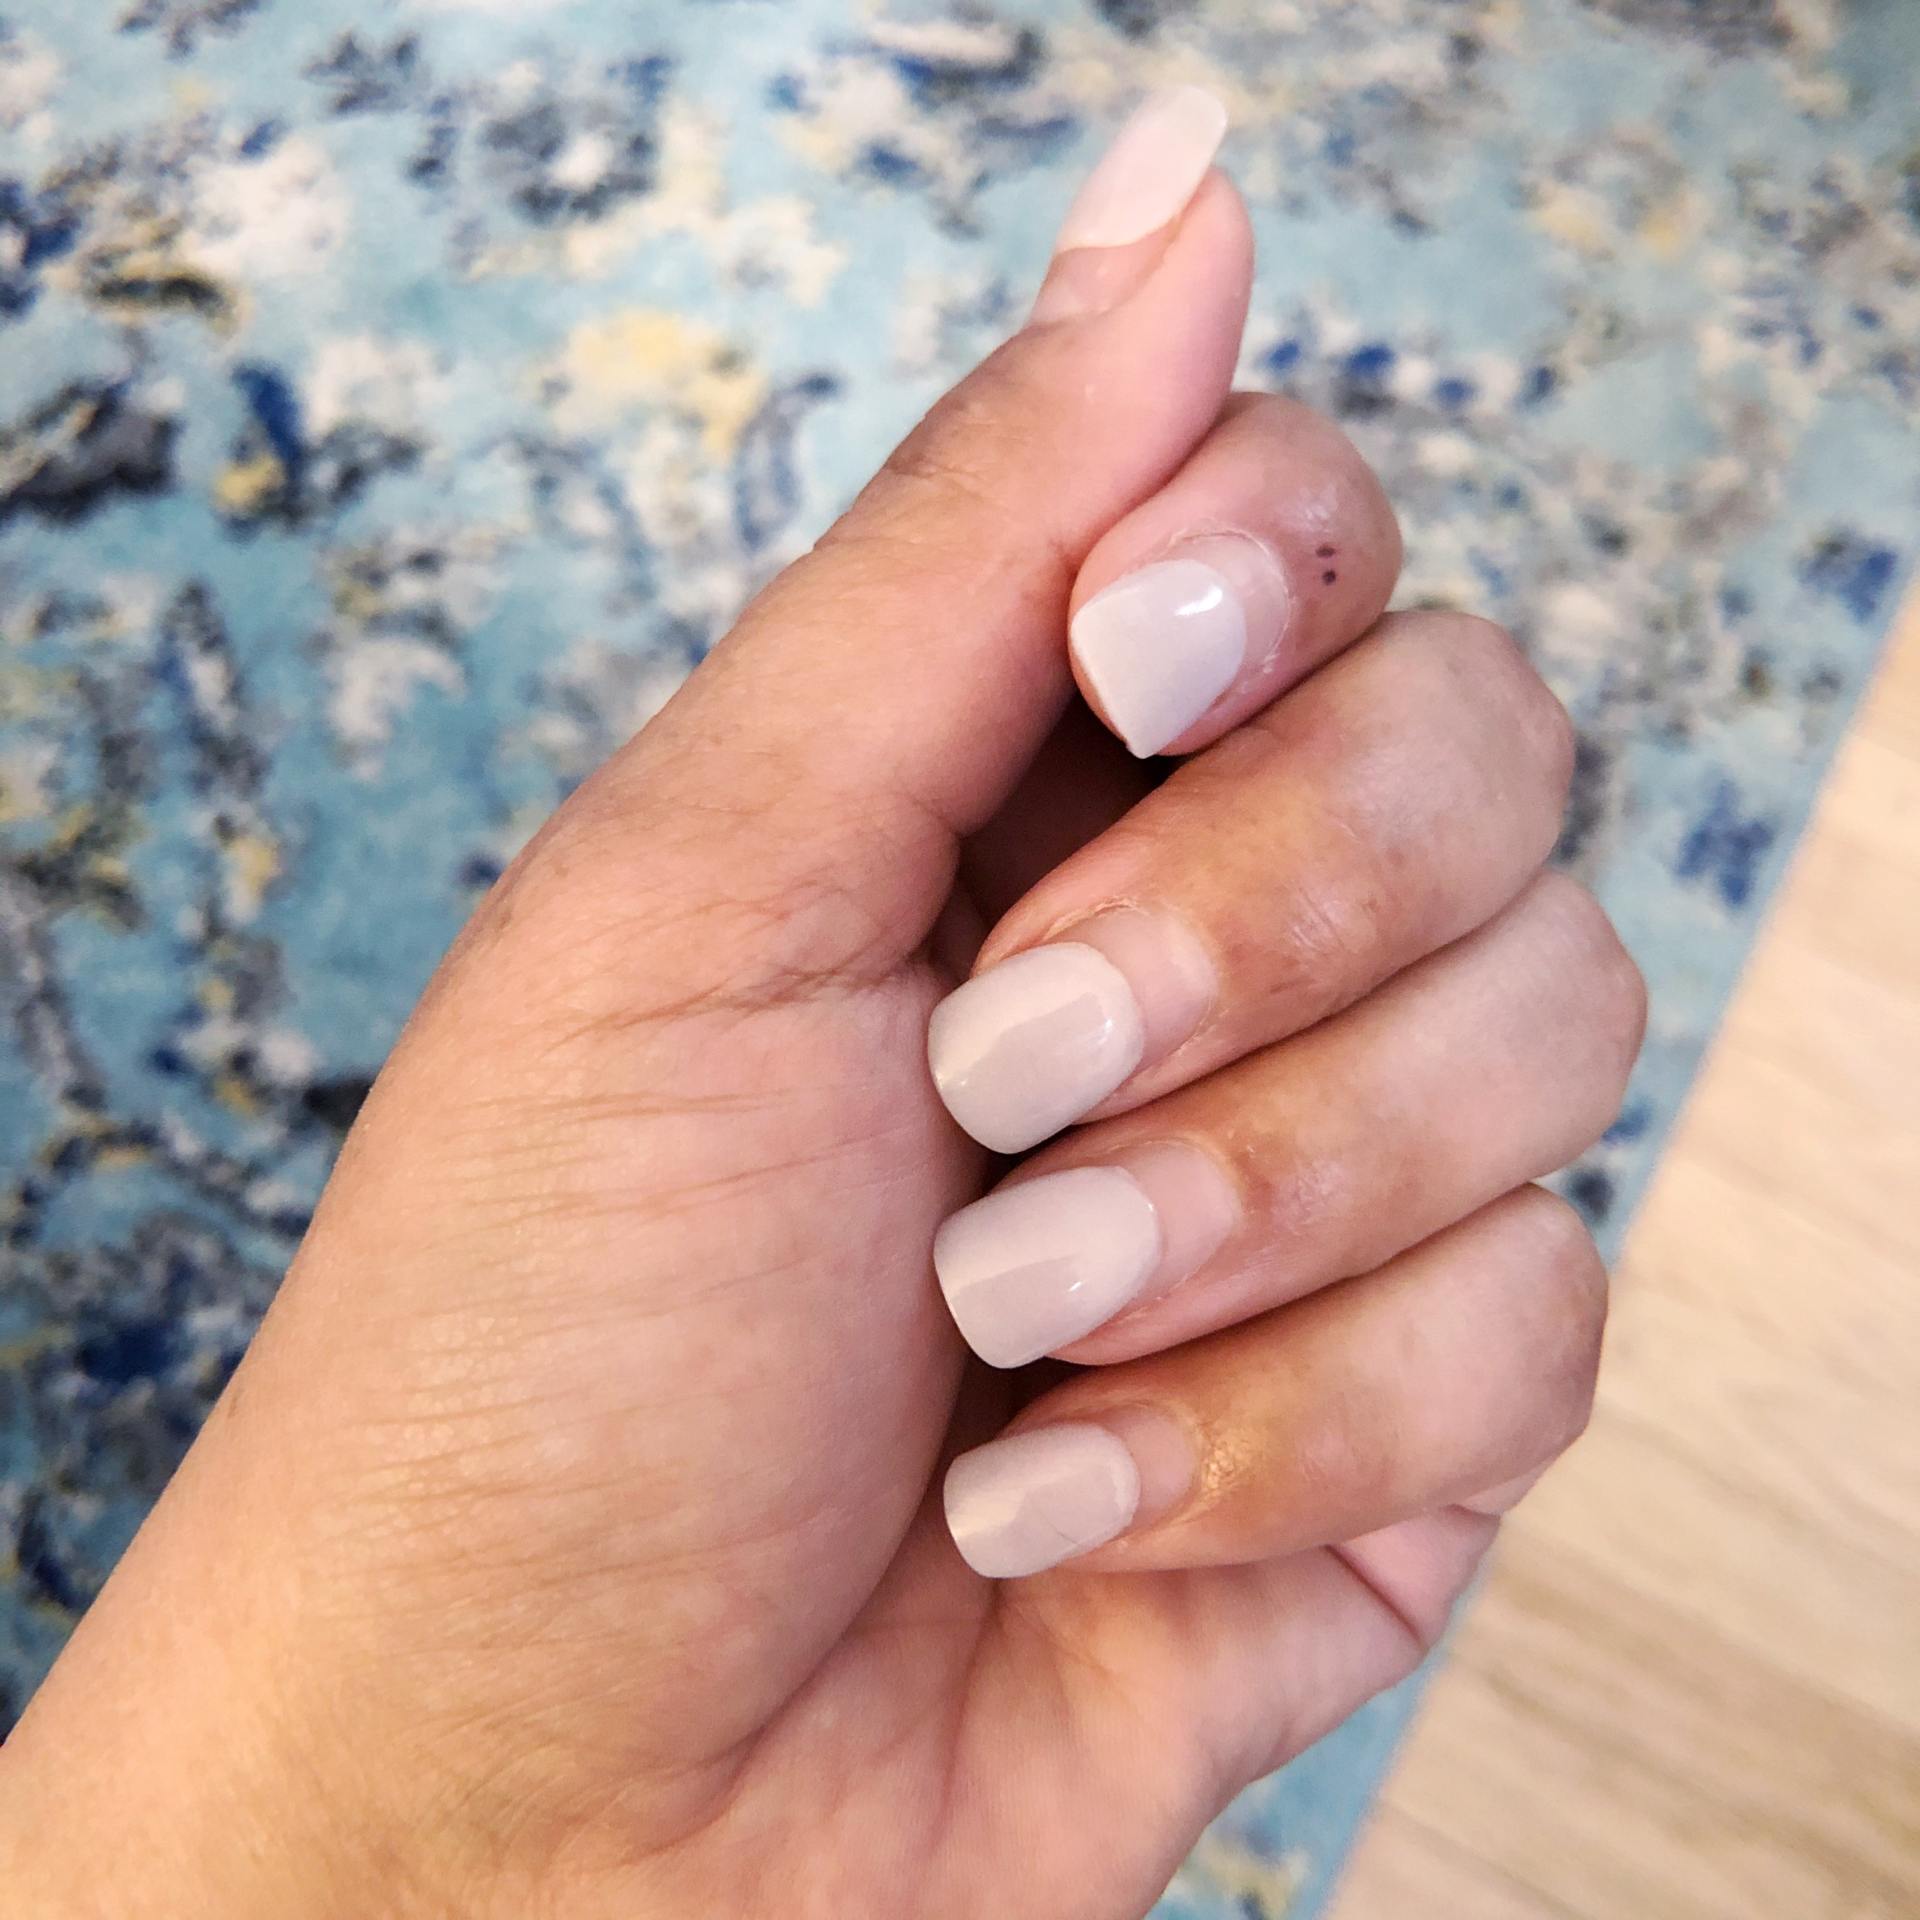
My ‘before’ nails consisted of a ‘powder dip manicure’ that I had done just before our state decided to shut down non-essential businesses due to Covid-19. Needless to say my manicure appointments are on pause ’till who knows when. I eventually had to cut down my nails as well because they were just too long for me and I was having difficulty doing mundane things like typing or buttoning up a shirt. This was the end result:  So I decided to heed my girlfriend’s suggestion to remove the dip powder nail layer. I honestly can’t remember the last time I did my own nails. How bad is that?! Anyway, I followed this tutorial on how to remove gel or acrylic nails and it was instrumental on how to avoid damaging my own nails.
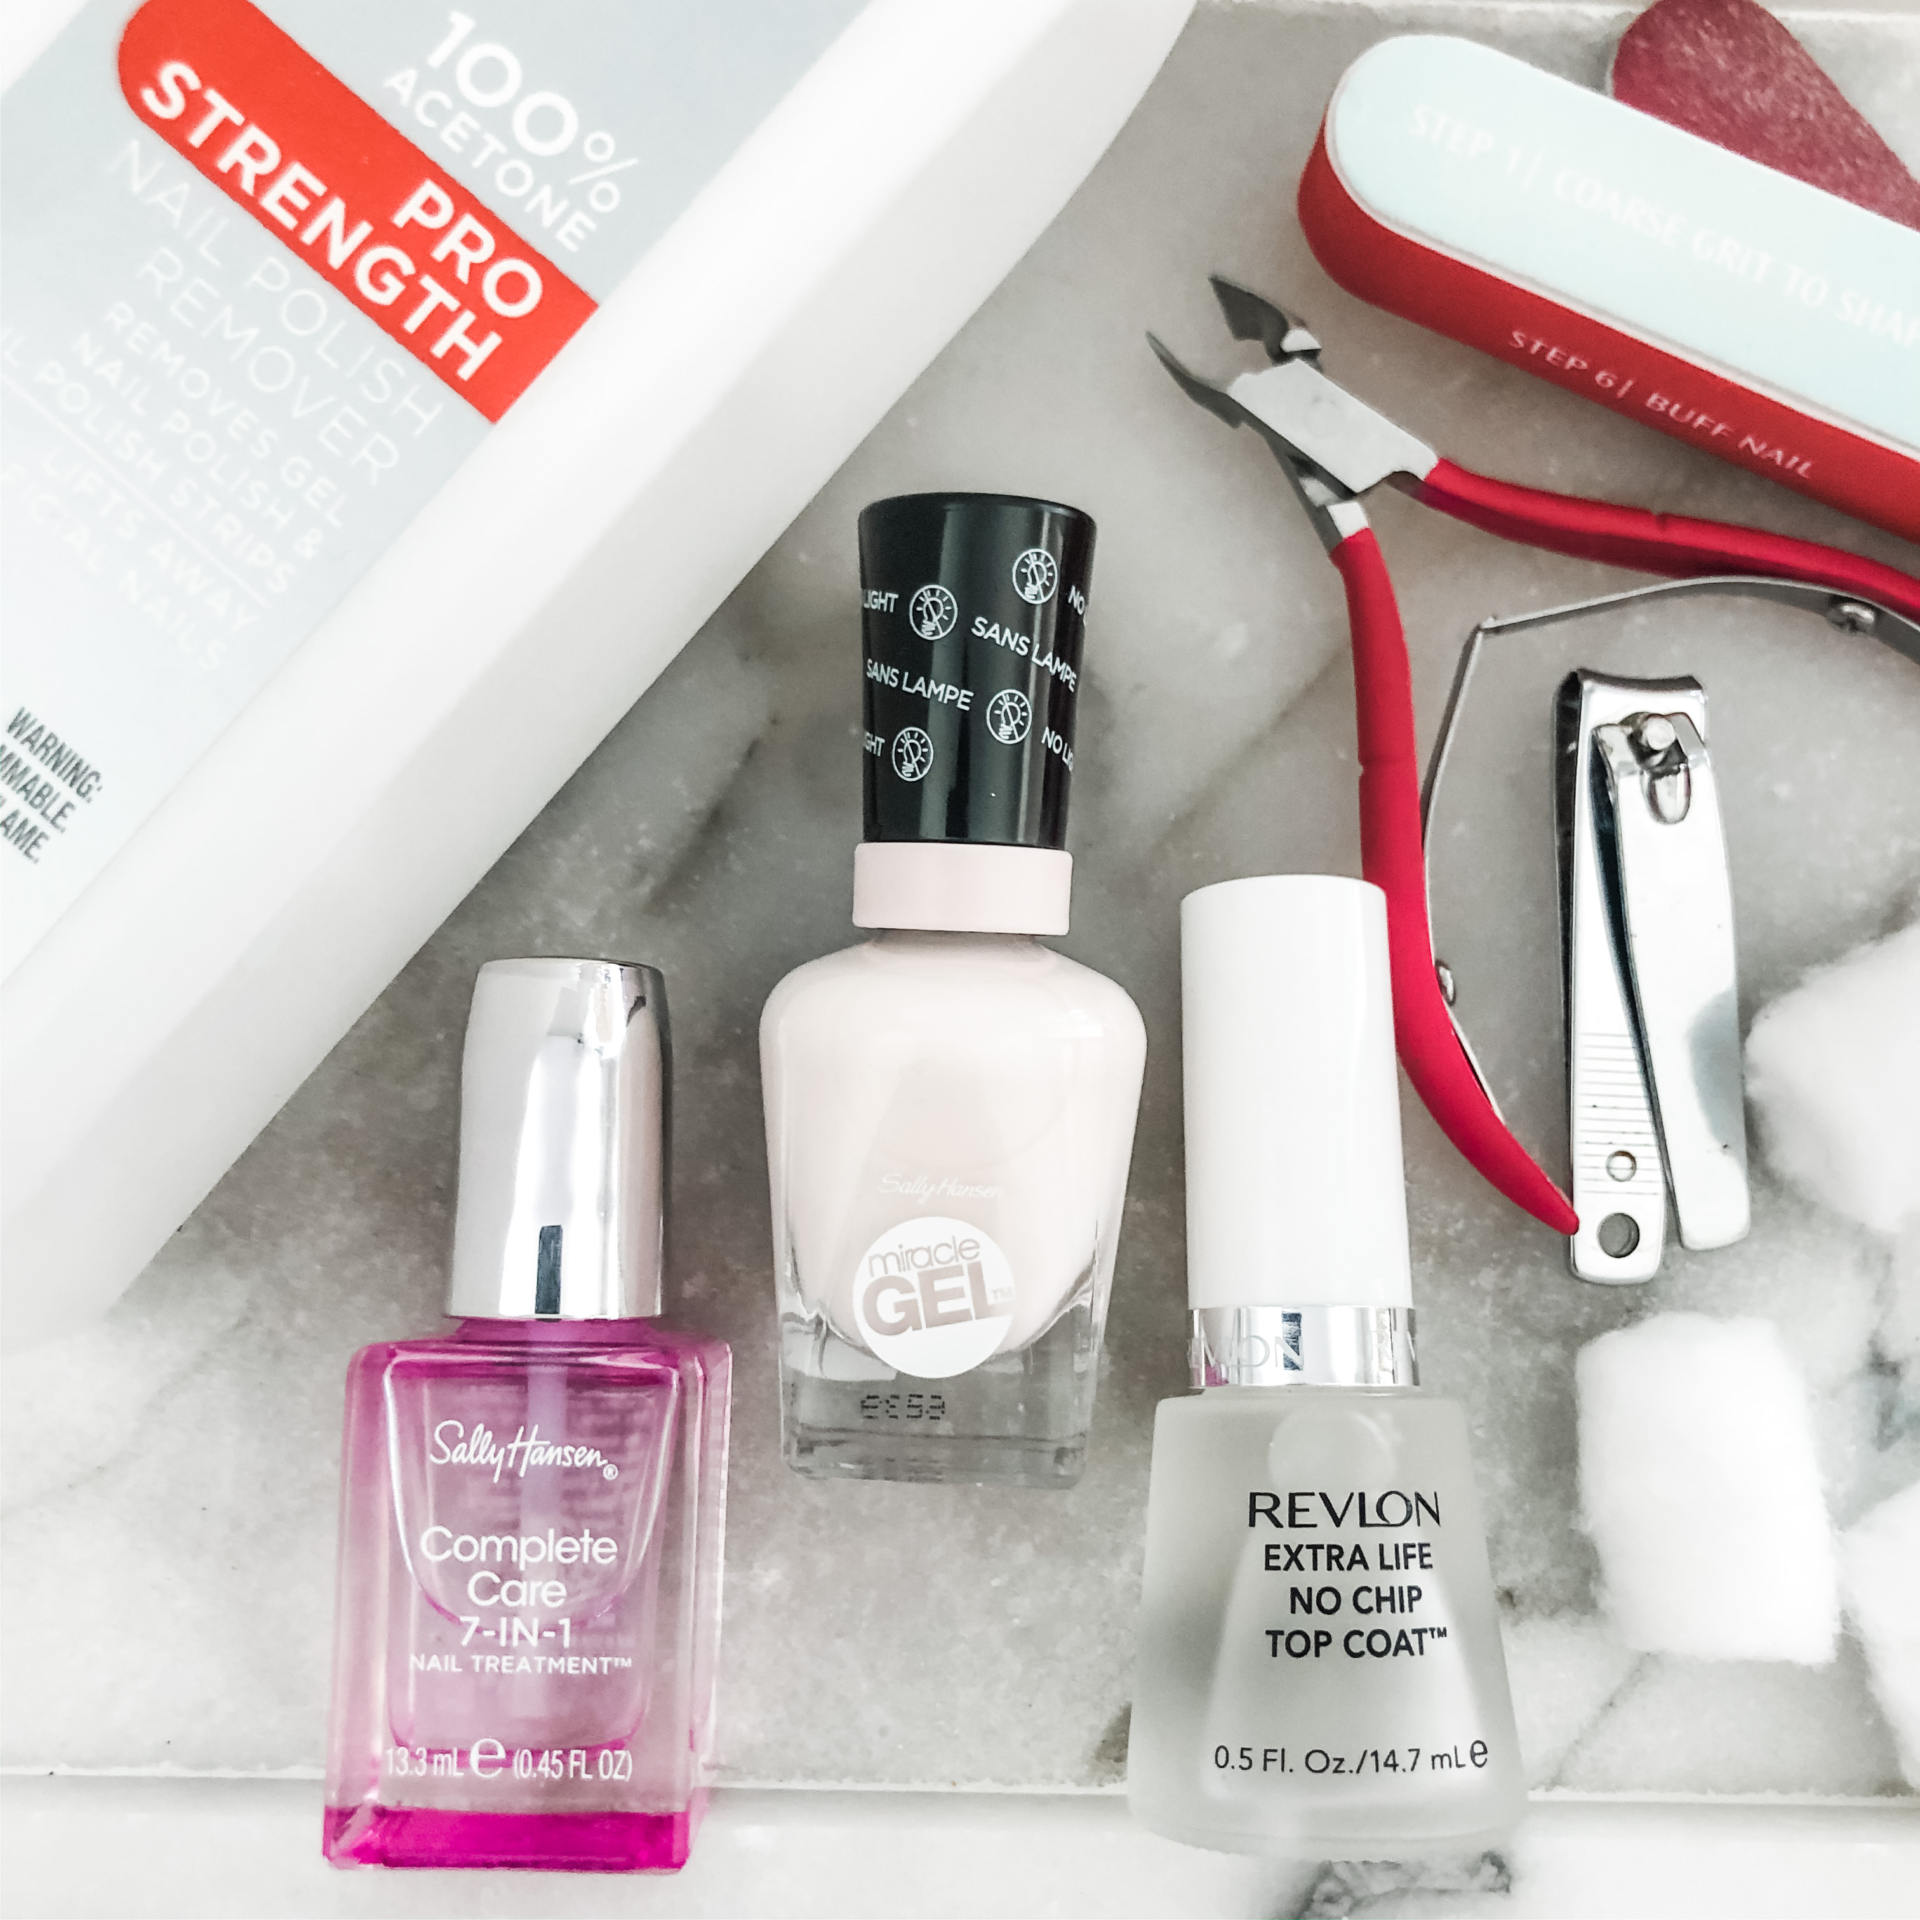
There were two things I did differently; I used cotton balls soaked in 100% acetone for each nail and then wrapped individually with foil for about 5 minutes. I also used a rough nail filer to remove the gel layer instead of the cuticle pusher instrument. Watching her scrape off the gel with that thing almost made my nailbeds hurt, lol, so I opted for the filer.
Good thing I have Glor to help me with these treatments. She totally enjoys the girly things with me as well as lends the extra hands for any impossible reach. The removal process was quite easy and I was pleased that the gel layer came off pretty good and without much effort. The nile filer is definitely the way to go! I proceeded to trim my nails further to my desired length. Then I trimmed off any hang nails with the manicure nippers and I filed and buffed the nails to give them a smooth even finish. I gave them a good rinse and prepped them with the 7-in-1 complete care nail treatment followed by the gel polish of choice. I let the nail polish dry for a bit before giving the nails a final coat of the no-chip top coat.
 While I’m glad I was able to remove the old gel layer off my nails I’m not 100% happy with the finished look. My nails are paper thin due to frequent drill filing at the salon but they’ll get better as the nail grows out. I’m also not sure how long the polish will last especially since I’m constantly hand washing. No matter how much these polishes swear by their ‘no-chip’ formulas they just don’t measure up to the more permanent salon grade products. I also didn’t get a high gloss shine from the top coat and my precision application was a little off.
All in all, not bad for a first time at home manicure. I’ll post updates on the products I used and how well they held up. In the meantime I’m also going to try some other options for manicures including at-home gel application. An Instagram follower DM me some info on nail stickers. They seem to be all the rage these days and I’m considering giving that a try, stay tuned…
SHOP THE POST

