
For as long as I can remember, the idea of making my own bread had always been a goal. However, I always thought it was something out of my league. For years I watched Martha Stewart make bread on TV but I never got the impression that it was feasible for the average cook, she never gave the impression it was attainable, although I really did (still do) enjoy watching her bake up a loaf. Eventually I concluded that only the best cooks and bakers the likes of MS were the only ones able to master the art of bread making. Ultimately it just seemed too daunting. Fast forward a few decades, and thank goodness for TikTok!
So it would seem like everyone and their aunts are on the bread making journey. I finally took the plunge and decided to go ahead and give it a try. And I’m so very glad I did! Today I’m sharing my recipe for making homade boule bread, from beginning to end. And yes, it’s actually quite easy to make. With just a few ingredients, three to four hours of your time, and no kneading required, you’ll end up with a fantastic, crusty, delicious bread that would rival any out of France’s best boulangeries!
Here’s a quick video/tutorial of how to make the bread:
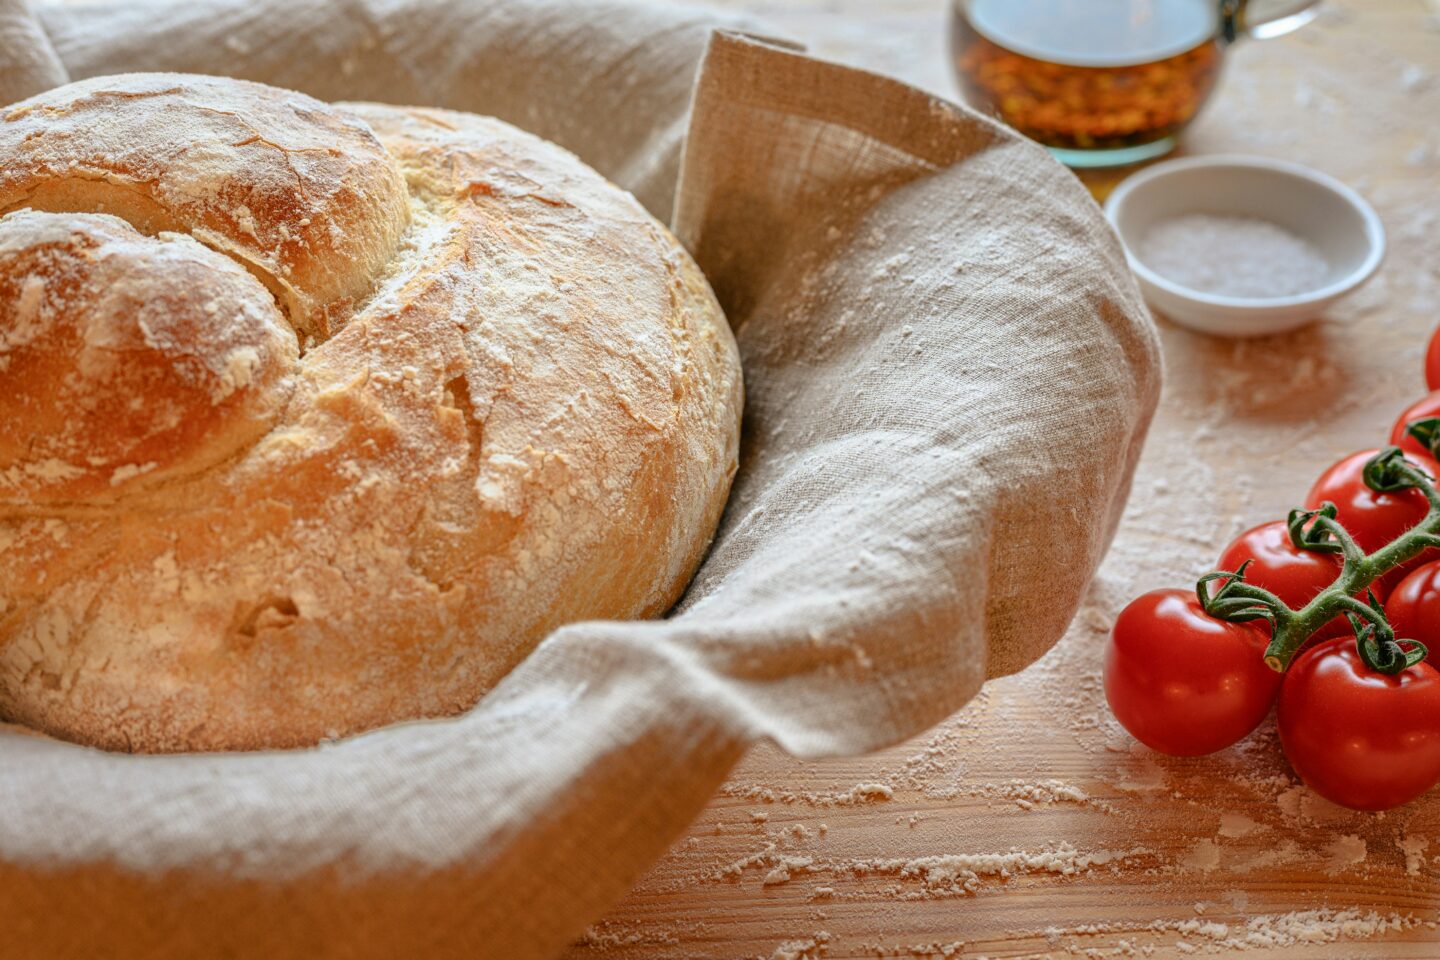
Homemade Artisanal Boule Bread
Easy Dutch Oven artisanal boule bread with a golden crust and a soft, fluffy interior.
Ingredients
- Dutch oven
- 3 cups bread flour or all purpose
- 1 packet dry yeast
- 1 tablespoon salt
- 1 teaspoon sugar
- 1 1/4 cup warm water (not hot!)
Directions
- In a measuring cup mix 1/4 cup warm water with yeast and sugar. Let the mixture proof for about 5 minutes until foamy.
- In a large bowl combine flour and salt, then add yeast mixture and gently incorporate. I found that using a Dutch Style Bread Whisk is the best tool for mixing the dough. Add the rest of the warm water, a little at a time, and continue to incorporate until dough is tacky but not wet. If it feels too dry add a bit more warm water, a tablespoon at a time. If it’s too sticky add more flour, a teaspoon at a time.
- Lightly flour the top of the dough (do not mix in, this is just so it doesn’t stick). Flip the dough over and lightly flour the other side. Cover with a cheese cloth or tea towel and let rise in a warm place for 1-2 hours. The dough should nearly double in size. TIP: place the dough inside your oven (turned off!) with the light on. The light will emanate some warmth making it the ideal place for the dough to rise.
- Once the dough has risen, tip the dough out of the bowl onto a lightly floured piece of parchment paper. If the dough is sticking to the bowl, simply flour your hand or use a scraper to help push the dough out.
- Dust your hands with some flour and begin shaping the dough by pulling the sides of the dough into the center, no rhyme and reason. Do this all around the sides until the dough feels tight. Then flip the dough over. It should look like a round ball.
- Keep your dough in place, seam side down and cover with a tea towel. Let rise for another 30 minutes.
- While the bread is rising, place your empty covered dutch oven into the oven and preheat to 450F.
- Before putting dough into dutch oven, score the top of your dough with a sharp knife to create a desired pattern. Grab the sides of the parchment paper to lift and place your dough into the heated dutch oven (paper and all) careful not to burn yourself. With your oven mitts on, put the lid on and place back into the preheated oven.
- Bake for 30 minutes with lid on. After 30 minutes, remove the lid and continue baking for another 10-15 minutes to create a golden crust. When done, take dutch oven out and pull the bread out by lifting the parchment paper. Let cool at least 10 minutes before cutting.
SHOP BAKING ESSENTIALS


